How to Install Cabinet Hardware the Easy Way
Learn how to install kitchen cabinet hardware and drawer pulls the easy way by following these 4 simple steps!
I’m so excited because today marks the first project post in our new home, the home which we’ve lovingly dubbed “Orchard House.”
If you’re new around here, we recently sold the townhouse that we had lived in for 7 years and built a new house a few miles down the road. We are so excited to have a blank canvas to make our own!
As much as I would have loved to jump right into full on room makeovers, the reality is that there are some basic things we wanted to tackle first to make our day-to-day lives a little easier, so I decided to do a little “First Things First” series to focus on some of these small-but-mighty projects that make a big impact on the home.
Choosing Kitchen Cabinet Hardware
A huge thanks to D. Lawless Hardware for providing knobs and pulls for this post. My favorable opinion of gorgeous kitchen hardware is 100% my own. This post includes affiliate links. For more information, see my disclosures here.
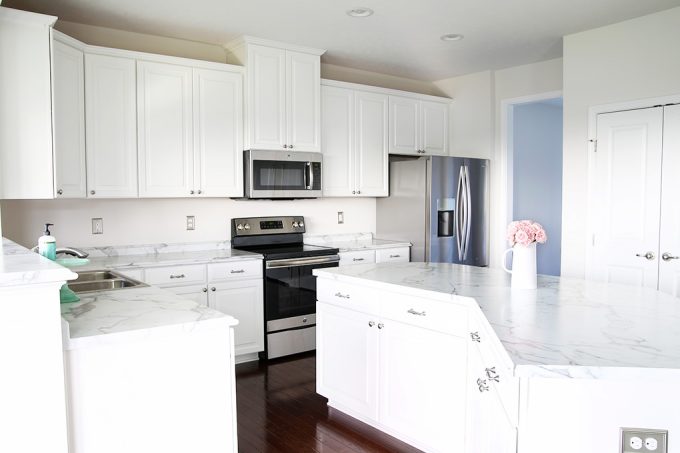
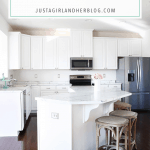
First up: hardware! Our builder (Ryan Homes) has a standard set of hardware that they are willing to put on your cabinets before you move in. However, I am just a teensy bit picky and didn’t love the option they provided, so we opted to have them leave their hardware off.
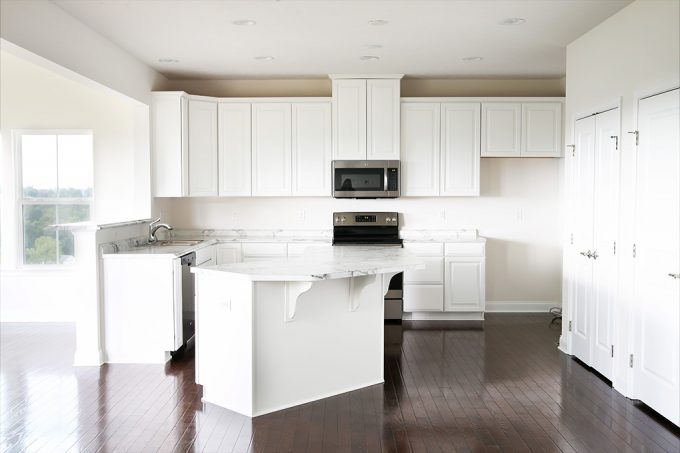
If you’ve ever tried to open cabinets and drawers without a knob or pull, you know it can be a huge pain, so before we even unloaded one box or began organizing one cabinet, Donnie took the time to install all of the kitchen hardware.
We used gorgeous knobs and pulls from D. Lawless Hardware in the townhouse kitchen reno, so of course they were my go-to source when we were looking for hardware for our new kitchen as well.
Things to Consider When Choosing hardware materials
- Brass and bronze hardware are antimicrobial, making them perfect for kitchens.
- Stainless steel is easy to clean and very durable.
- For thicker wood, a bronze finish looks great and feels good once they are installed.
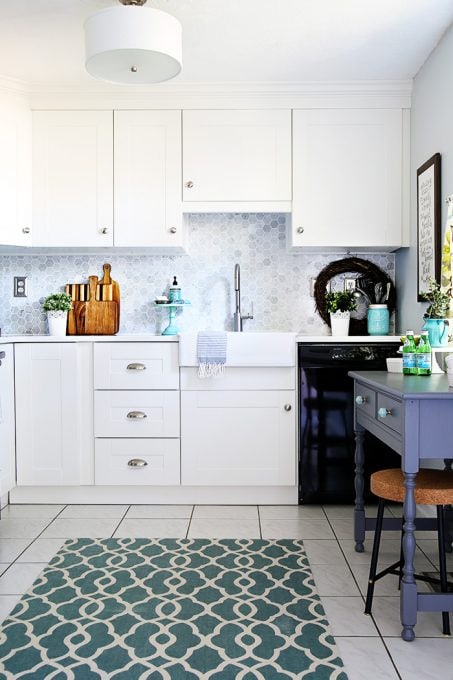
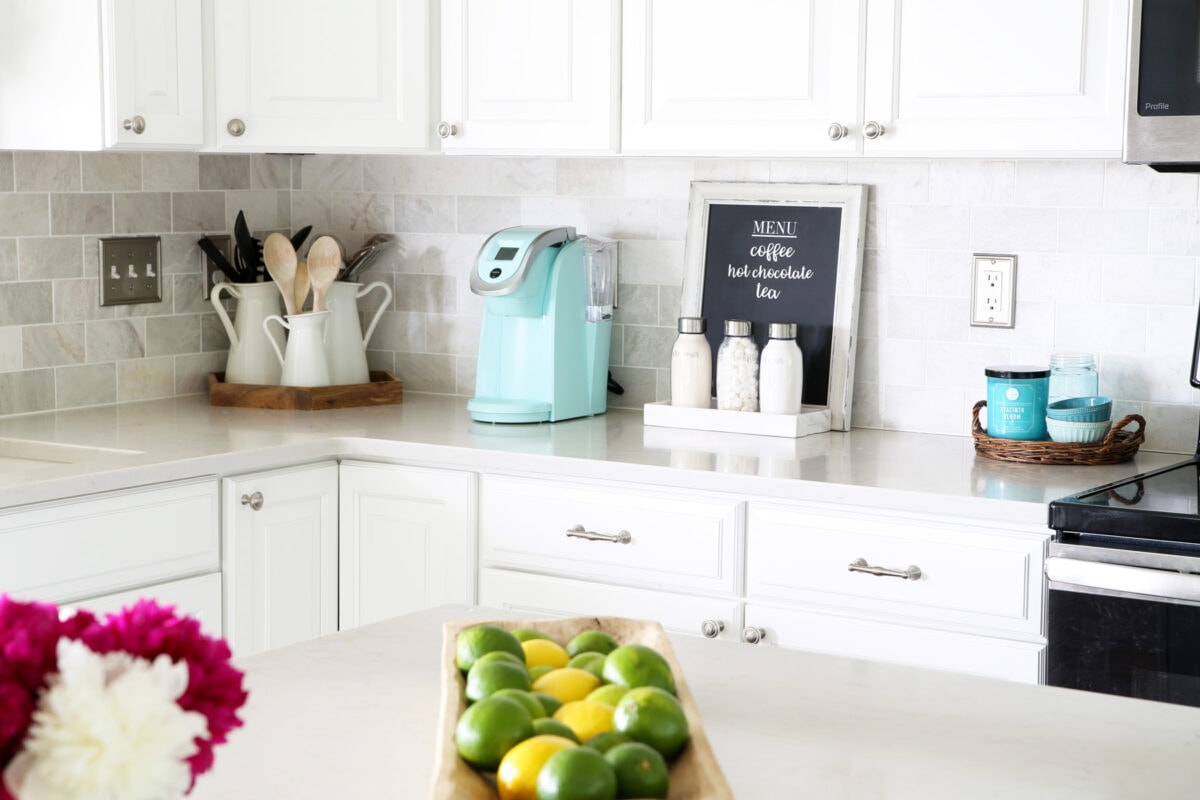
our kitchen in the townhouse
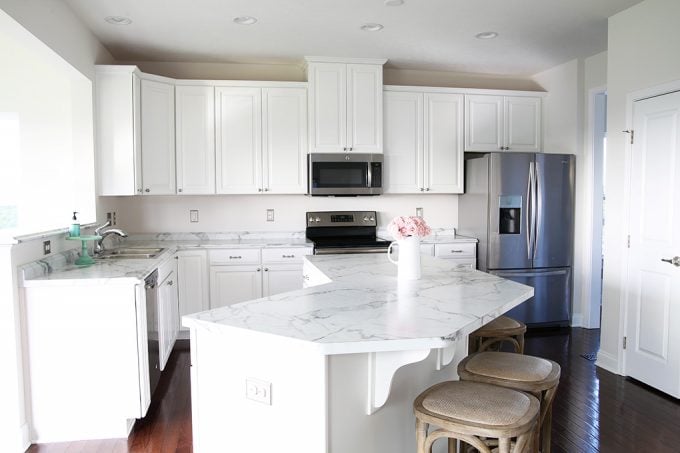
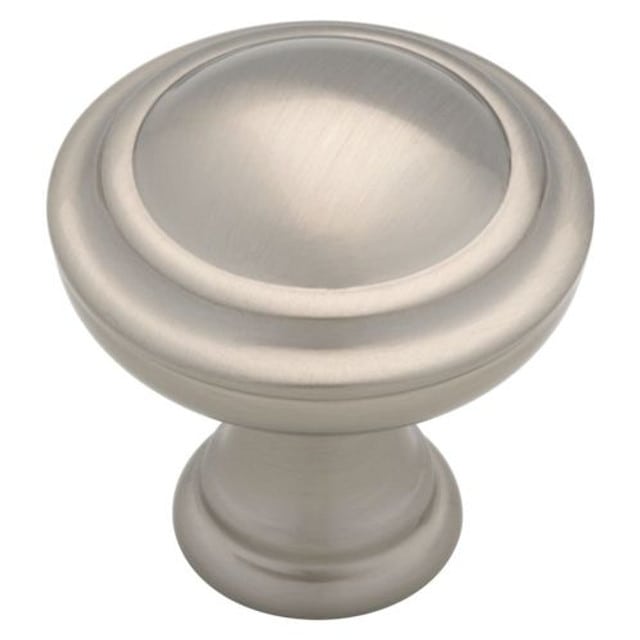
We had cup pulls (and these knobs) in our last house, and while I loved them, I decided to go for something different this time around:
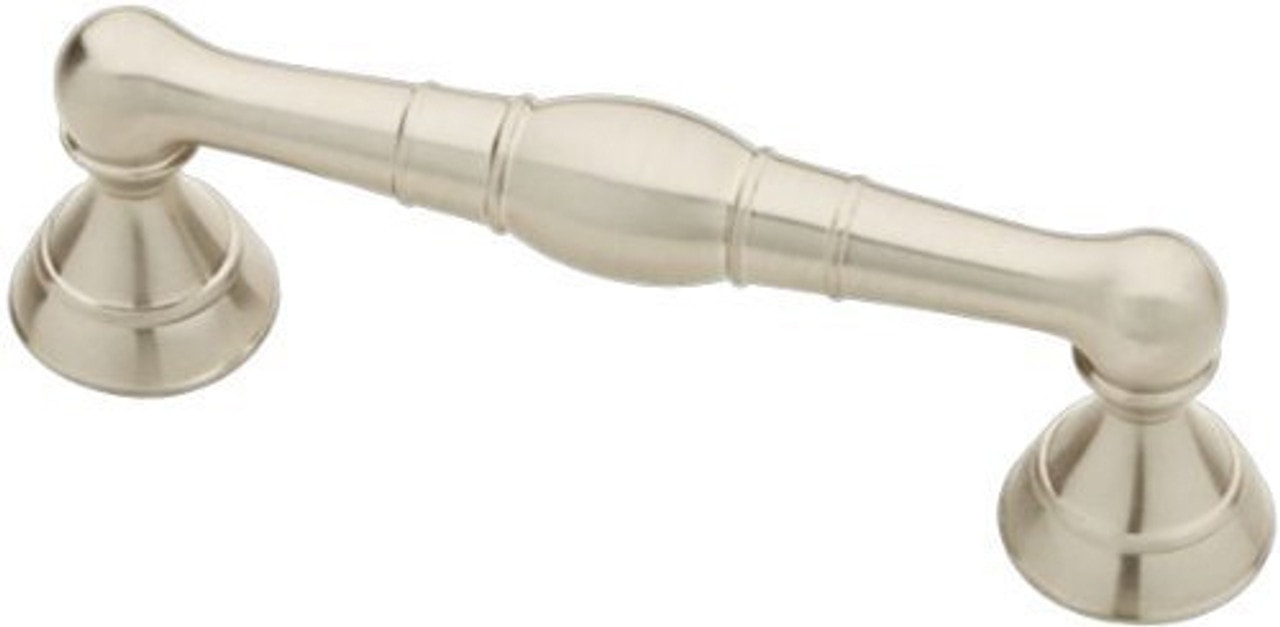
These are actually called Palermo pulls, which is kind of ironic because the model of our home is also called Palermo. It was meant to be! And the pretty Capital knobs coordinated with the pulls perfectly and look great on the cabinet doors.
Choosing hardware finishes to Fit Your Decorating Style
- Highly polished stainless steel or brushed are great for a contemporary kitchen.
- Choosing a bronze finish is an easy way to go bold. Over time, it will patina, which would be the perfect look in a rustic or farmhouse kitchen.
- Brass and pewter are more fitting for a traditional kitchen.
Knob Placement + Pull Size For Cabinets
Use the guide below if needed to determine what size pulls will look the best and how many knobs are needed.
| Drawer and Door Size | Hardware Guide |
| Drawer less than 16 inches wide | One knob in the center |
| Drawers over 16 inches wide | Two knobs in the outer thirds of the drawer |
| Doors less than 24 inches tall | Use pulls that are 3-7 inches long |
| Doors between 24 and 36 inches | Use pulls that are 7-12 inches long |
| Doors over 36 inches | Use pulls that are 12 inches and longer |
Keep in mind that if you’re changing hardware in a kitchen (rather than installing it for the first time), it will be much easier to go with the same size/type of hardware in a different style.
For example, if our cabinets previously had pulls but we wanted knobs, we would have to patch the holes– including sanding, painting, priming, etc.– before we could install the new hardware.
How to Install Kitchen Cabinet Hardware Step-by-Step
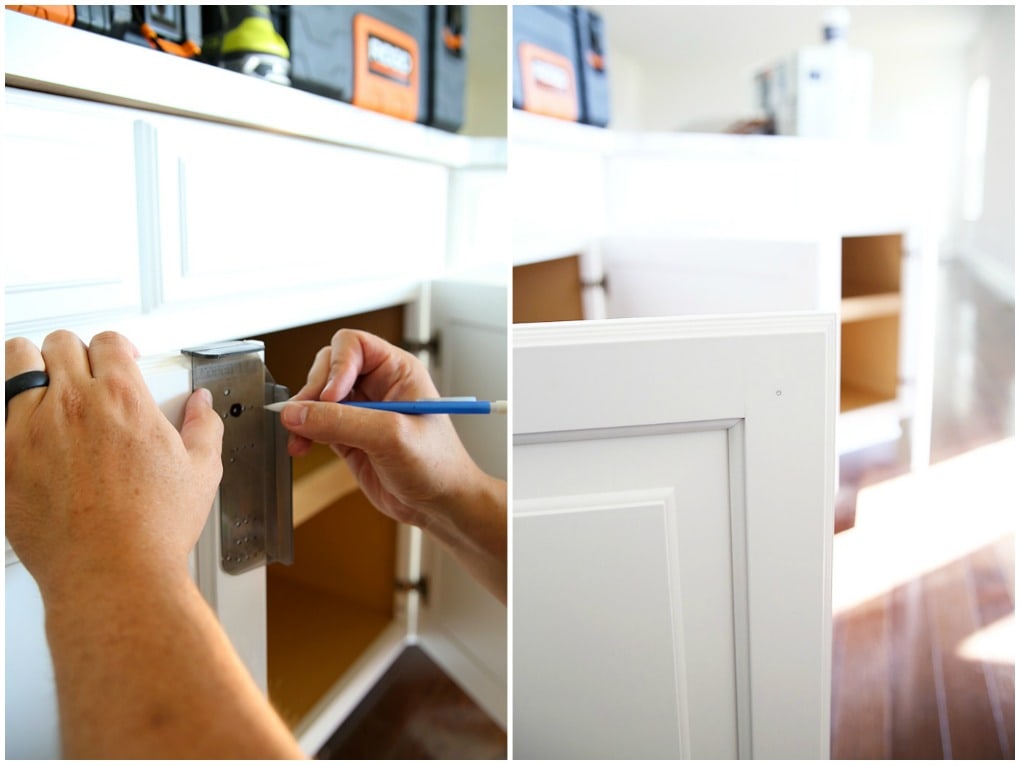
1. Mark the spot for the hardware installation using the template.
To install the hardware, Donnie first picked up some cabinet hardware templates from the home improvement store. We used both a door template and a drawer template when installing our hardware.

door template (left) and drawer template (right)
Instead of using a tape measure, level, and pencil to individually mark and measure every door and drawer, the templates have a number of pre-defined options. Once we found the one that worked best for us, we used a marker to circle it, and it was easy to mark a drilling spot on all of the cabinets with a pencil.

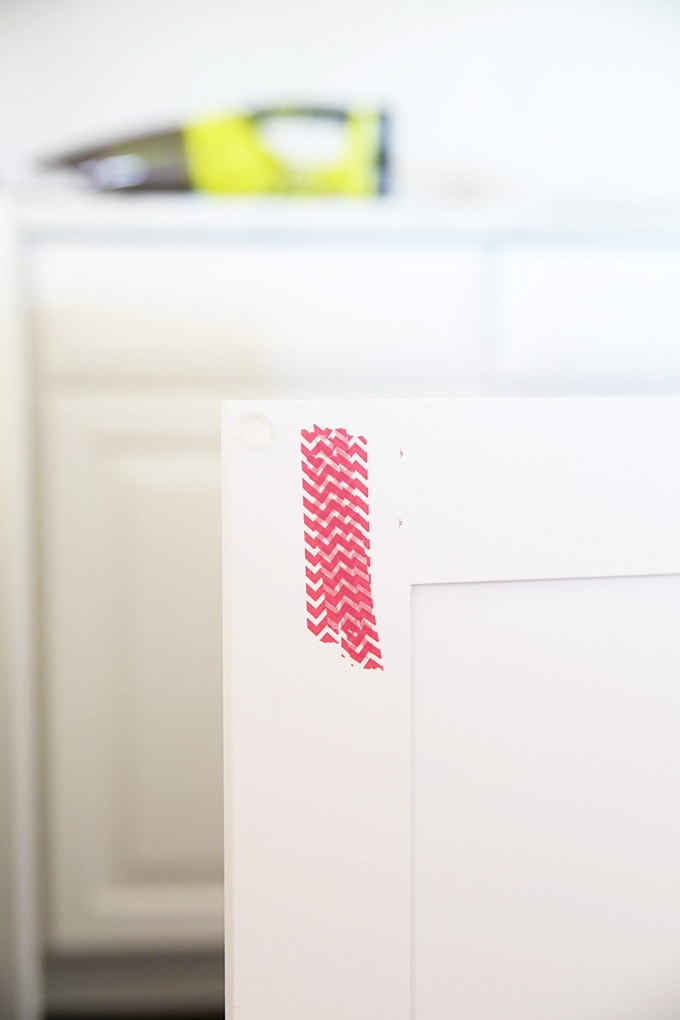
2. Tape the back of the cabinet door.
To prevent the wood on the back of our drawers and cabinets from splitting as we drilled, we applied some tape on the back of the cabinet door to hold things together.
Ordinarily Donnie would use blue painter’s tape, but that was in a moving box somewhere, so I found the next best thing — washi tape. (I mean, every creative blogger carries a roll of washi tape in her purse, right? 😉 ) It worked like a charm!
The important thing is to use a tape that can be removed easily, unlike something like duct tape, which will leave a residue.

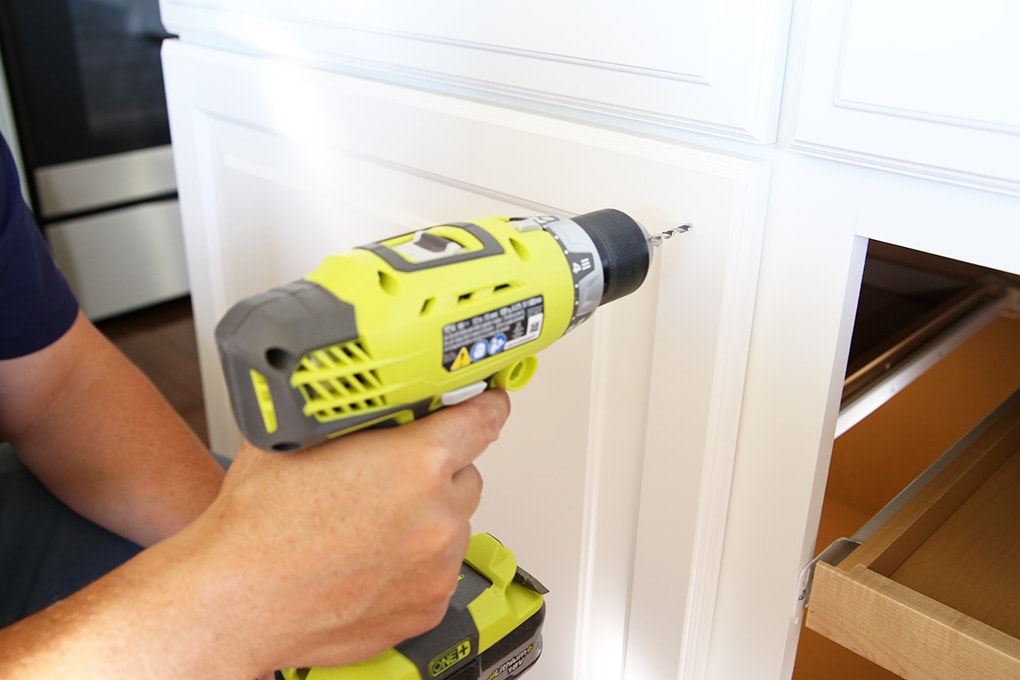
3. Drill the holes and add Loctite.
Next, we drilled all of our marked holes with a bit that was only slightly larger than our cabinet hardware screws. After drilling, the screws should slide easily into the hole without having to thread the screws into the wood.

tips for drilling
- Using a sharp drill bit will keep the wood from splintering on the backside when drilling.
- When using a 3/16 inch drill bit, use 8/32 inch screws. Always use a bit that is a little bigger than the screw.
Donnie’s pet peeve is when he installs cabinet hardware only to have it loosen up a few months later. He hates to have to re-tighten it all the time. In the past he’s tried all sorts of techniques to prevent this.
He tried lock-washers, but they dig into the cabinet wood. To prevent the wood-gouging, he’s tried lock washers with a normal washer next to the wood. This keeps things tight, but having all of that extra hardware on the inside of cabinets doesn’t look great.
4. Screw the kitchen cabinet hardware into place.
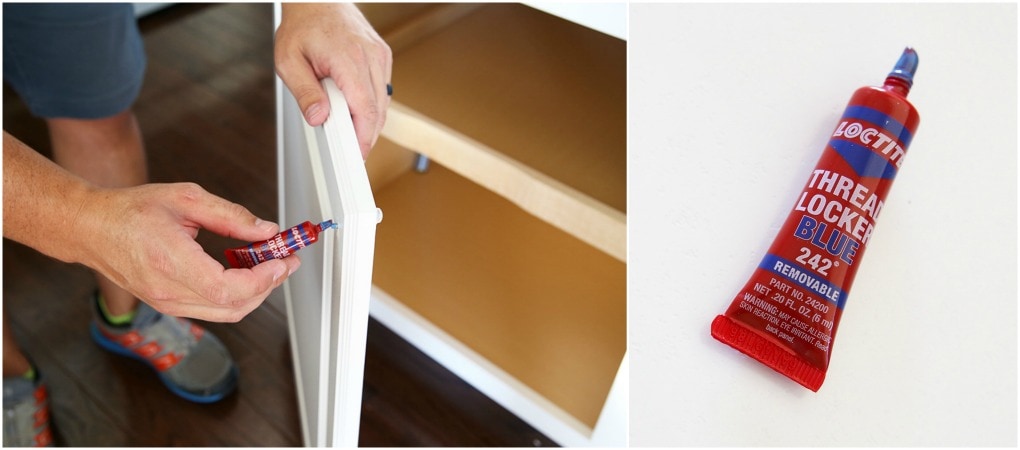
For this hardware install, Donnie used a different method – Loctite.

Before attaching the knobs and pulls to the screw, he put a little dab of blue Loctite onto the end of the threaded screws and then attached the hardware.
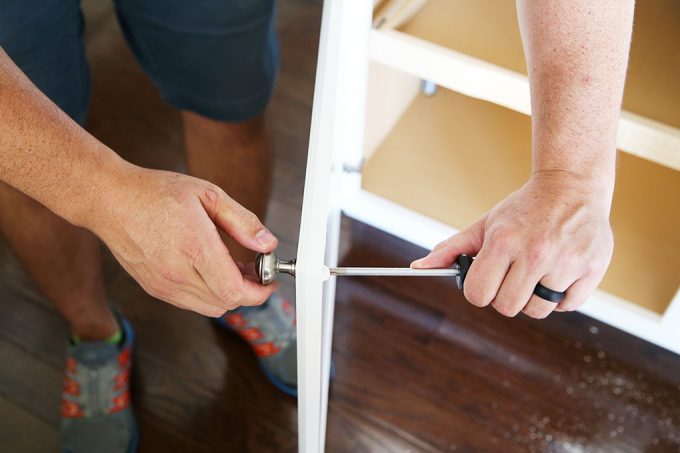
Once it dries, Loctite will bond the metal together and keep everything tight.
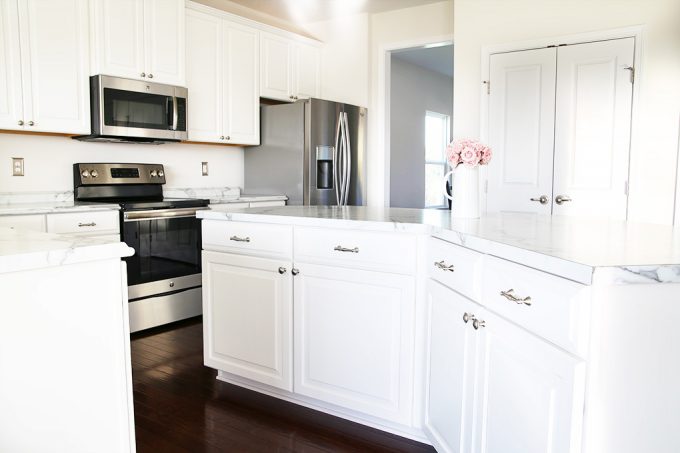
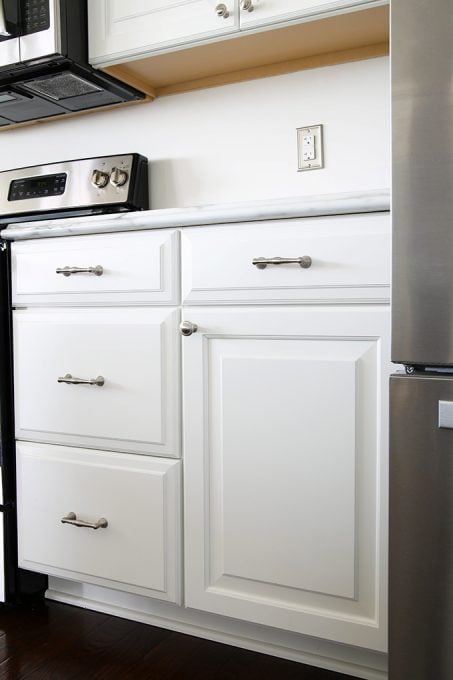
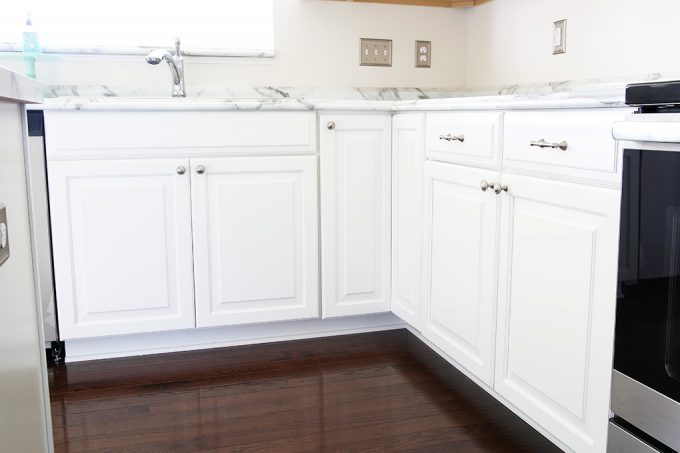
Donnie repeated the same steps with the drawer hardware, using the drawer template rather than the door template, and our beautiful new knobs and pulls were good to go!
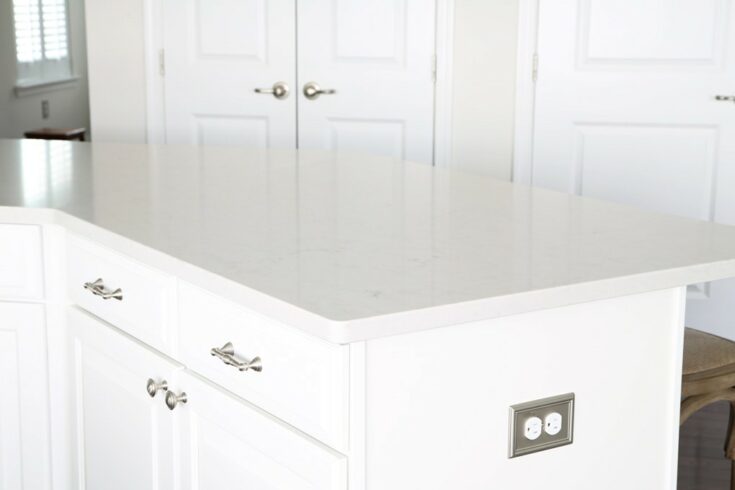
While we were on a hardware kick, we also decided to replace the white plastic switch plates and outlet covers with more substantial looking versions that matched our hardware.
And it might seem like overkill, but we also replaced the vent covers on the floor with a prettier version. It’s just a tiny detail, but I think it improves the overall look and feel of the space.

So those were some of our first projects! Only about 967,493 more projects to go! Progress, however small, feels so good, and we’re making more and more headway each day!
Thank you so much for following along with our progress on Orchard House! Hope you’re having a wonderful week!
Installing Kitchen Hardware: Frequently Asked Questions
How To Install Kitchen Hardware
Materials
- Loctite
- Knobs and pulls
- Tape
- Pencil
- 8/32" screws
Tools
- Drill with 3/16" bit
- Templates
- Pencil (for marking)
- Screwdriver
Instructions
- Measure and mark where you are going to install the knobs and pulls. We used templates, but you can also use a level and tape measure.
- Place a small piece of tape on the backside to keep the wood from splintering.
- Drill the hole.
- Place the screw in and add a small amount of Loctite on the end.
- Hold the knob (or pull) on the front and tighten the screw on the back.

Notes
- Using the Loctite is optional. We tried using washers before and they dug into the cabinets. Using Loctite will keep them from loosening over time.
- Be sure to drill from front to back. If you do have splintering it will be on the inside where nobody can see it.
- Tightening the screw from the back (versus twisting on the knob) helps to avoid messing up the finish.
Recommended Products
As an Amazon Associate and member of other affiliate programs, I earn from qualifying purchases.

A huge thanks to D. Lawless Hardware for providing knobs and pulls for this post. My favorable opinion of gorgeous kitchen hardware is 100% my own. This post includes affiliate links. For more information, see my disclosures here.
I wish I had researched cabinet hardware more before we installed ours on our new cabinets 4 years ago. I have knobs on my drawers and really wish I had gone for drawer pulls instead. It looks great!!
Thanks so much, Sarah! <3
~Abby =)
My husband messed our pulls up so bad and they are so crooked! Yikes! Wish I had seen this before we installed them last year. Your new kitchen is beautiful, though!
Oh, no! They can definitely be tricky! Thanks so much and have a wonderful evening!
~Abby =)
Did you name your home “Orchard House” in honor of Louisa May Alcott?
I do love her, but that wasn’t the reason! 🙂 We actually have a peach orchard in our back yard and can see an apple orchard from the back of the house as well, so it seemed to make sense! Have a great day, Sarah!
~Abby =)
Sorry to do this and normally I would’t but I would want to know. Anyways you said ‘One it dries the Loctite will bond metal together’….I think should be ‘Once’ but maybe I’m wrong. Anyways, please don’t post this, not that I think you will. And I love your kitchen I never paid attention to what hardware could do for a room but wow I really does make it. Thanks for this, now I really want to change some things (I really dislike my hardware ). Can’t wait to see what y’all do next.
Beautiful kitchen! I hope that you are enjoying your new home.
The Loctite is a good idea, and is recommended for keeping nuts and bolts in place.
There are several strengths, and anyone who is going to use is for locking
fasteners in place should use one of the lower strength products. If anything does
ever loosen up (heaven forbid), you should still be able to take apart the fasteners.
If I remember correctly, Loctite has a purple model (used for up to .25 inch fasteners),
and a slightly stronger, blue model, used for larger sizes. They also offer products in
higher strengths, but don’t expect to be able to get anything apart without a
jackhammer and blowtorch.
All kinds of new projects with a new house, but they are “Happy” projects.
Good luck with the rest of your decorating.
Your house looks beautiful, I really admire how you are taking your time to make sure everything is perfect rather than rushing to start using it all. A lesson I hope I can follow when I finally get a house to live in.
It is definitely challenging, Susan! Naturally, I just want to attack everything so the house is finished, but I know it will be so worth it to wait. Thanks so much for your sweet words and have a fabulous weekend!
~Abby =)
Congratulations on your new home! It is beautiful!
I’m new to your blog and I love it! I really like your way of breaking down the to-do list by starting with “First things first.”
We also just moved into a new house and are in the process of choosing a refrigerator. Which one did you settle on? (I may have missed if you posted this somewhere else.) We have read so many reviews our heads are spinning.
Thanks!!
Thank you so much, Linda! I hear you about refrigerators– it was hard to choose! We ended up going with this one from Whirlpool: https://www.homedepot.com/p/Whirlpool-27-cu-ft-French-Door-Refrigerator-in-Monochromatic-Stainless-Steel-WRF757SDEM/205937770 . It was a good size for what we needed, and I liked that the ice maker was in the door and didn’t take space away from the shelves. I hope this helps! Enjoy your new home!
~Abby =)
Thank you!! We’ll check it out.
Congratulations on your new beautiful home! We’ve built once before and I may be a sentimental sap, but it’s so nice that in your new home all the “first time” this or that will be yours and yours alone. Does that make sense? lol
Enjoy~before you know it you’ll be all settled in and have that homey feeling!!
Totally makes sense, Candy! It really is SO fun! Thanks so much and have a wonderful week!
~Abby =)
what did the original floor vent cover look like? Also, moving into a new house, what light switch controls this spot? Figuring out all the light switches and electric outlets.
I’ll piggy back on Linda’s comment and say I’d love to see the before and after pictures next to each other so I can really visualize the change. Thanks so much for sharing your light with us, Abby, it’s lovely!
Hi, Linda! The original vent cover was very basic, similar to this: https://www.lowes.com/pd/Accord-101-Series-Painted-Steel-Floor-Register-Rough-Opening-10-in-x-4-in-Actual-11-48-in-x-5-51-in/3260573 . We have two light switches that control the kitchen lights. One is by the dining room door, across from the fridge. The other is by the opening to the hallway. I hope this helps!
~Abby =)
Your kitchen is so stunned. The templates, I never know about that because I tend to be measured without the templates. I would like to buy those for myself.
Thanks so much, Brandy!
~Abby =)
This is some great advice with the Loctite! This question is probably enough for a future post but I recently tried to update my kitchen with new hardware but the screws that came on my knobs were much too long for the doors/drawers and now I have no idea how to cut them down? Thanks! Sarah
We’ve actually had that problem in the past too. We just go to the hardware store and buy screws that are the correct length. They are a pretty basic thread, so all hardware stores will carry them, and they are not expensive. I hope this helps!
~Abby =)
I love the vent covers. What brand/model are they? We recently put in dark hardwoods and I bought wood vent covers but those are much more elegant
Hi, Julie! They are these ones from Lowe’s: https://www.lowes.com/pd/Accord-Select-Marquis-Cast-Iron-Floor-Register-Rough-Opening-10-in-x-4-in-Actual-11-42-in-x-5-36-in/1057131 . Hope you’re having a wonderful day!
~Abby =)
Where did you get the new floor vent covers? They are gorgeous!
Thanks, Sarah! They are from Lowe’s! 🙂 Hope you have a wonderful week!
~Abby =)
Very nice! I think the details make it YOURS. Looking forward to seeing your other projects!
Thanks so much, Heather! I agree!
~Abby =)
I just love your kitchen! We built our townhouse 5 years ago with Ryan homes and chose to buy and install the hardware ourselves also. It was CRAZY what they were going to charge us! We also tiled our backsplash ourselves. Are you planning on doing a backsplash at some point? If so, I can’t wait to see the post! I’m sure it will be beautiful. 🙂
We are doing a blacksplash! I can’t wait! 🙂 Thanks, Emilie!
~Abby =)