DIY Holiday Stocking Post

As we were getting ready for our first Christmas in the new house, I realized we were missing one thing– a mantel! I began wracking my brain and searching for ideas to create a fun way to hang our stockings, and I am so excited to show your our cute DIY holiday stocking post today!
DIY Holiday Stocking Post
A huge thanks to The Home Depot for sponsoring this post! For more information, see my disclosures here.
Supplies
This DIY project can be completed with just a few supplies. Here’s what we used to create ours:
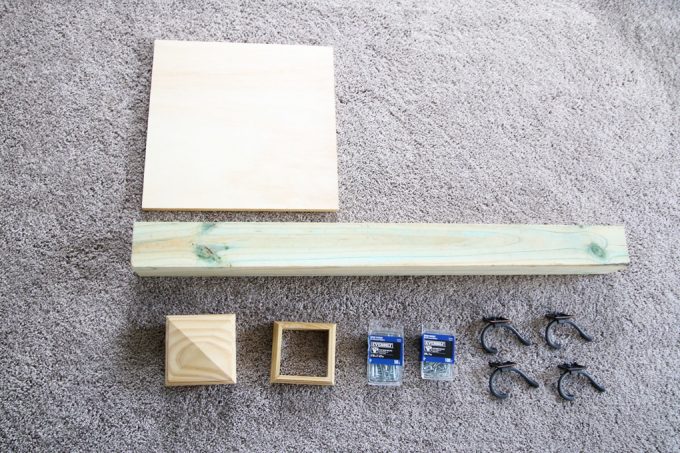
All supplies were purchased at The Home Depot.
- 22/32″ x 2′ x 2′ Piece of Plywood, Cut Down to 16″ x 16″
- 4″ x 4″ x 4 1/2′ Deck Post, Cut to 41″ (to fit the post cap correctly, it needs to be a nominal 4 x 4)
- 4″ x 4″ Pyramid Wood Post Cap
- 4″ x 4″ Wood Post Skirt
- #10 x 21⁄2″ Phillips Flat-Head Wood Screws
- #10 x 1″ Phillips Flat-Head Wood Screws
- Coat and Hat Hooks
- Paint or Stain of Choice
This project was pretty simple to begin with, but we made it easier by having the nice guys at Home Depot cut down our plywood and deck post for us! If we hadn’t done that, we could have used a handsaw or a big chop-saw to cut down our pieces. We also used a drill and impact driver to complete the job, although you could do it without a drill if you don’t have one on hand.
Process
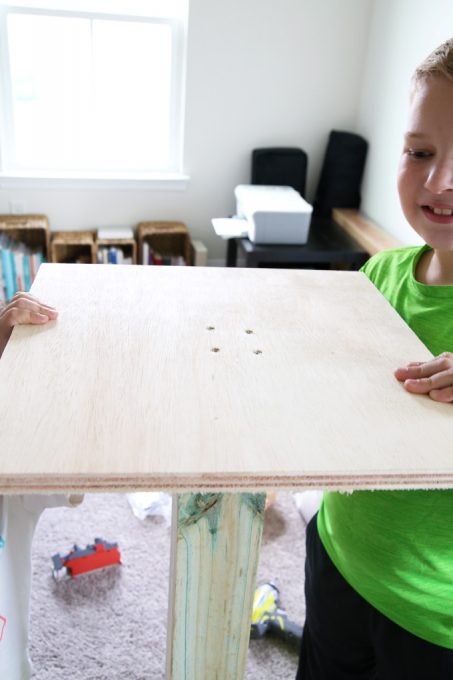
The first thing we had to do was to attach our piece of plywood to the deck post. To do this, we centered the post on the plywood, and then simply used the impact driver to attach the base to the post with 2 1/2″ wood screws. I used four wood screws.
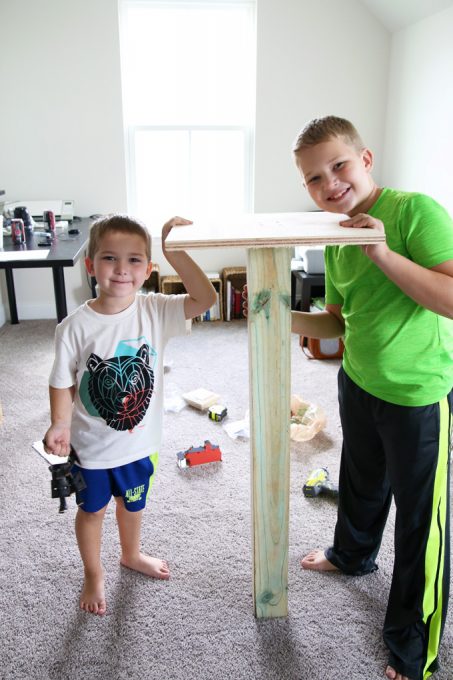
We had two little helpers who wanted to hold the pieces up for us. 🙂
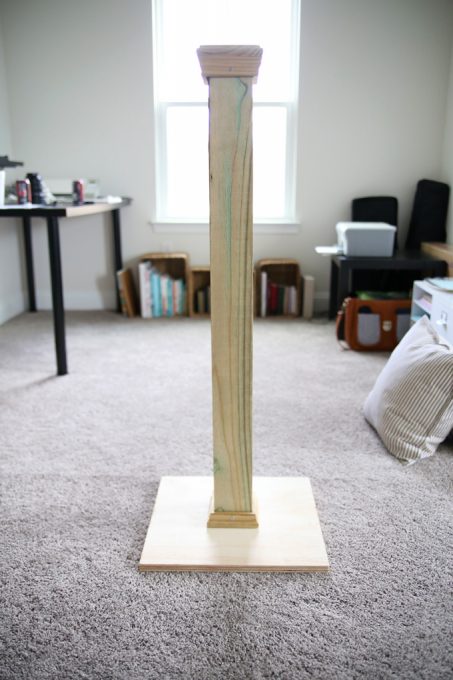
Once we had the post secured to the plywood, we were able to attach our trim pieces: the post cap and the post skirt. Again, we used the impact driver to attach the trim to the post with 1″ wood screws. Pre-drilling these holes helped prevent us from splitting and cracking the trim pieces.
Then it was time to make it pretty! I have been loving the combination of dark wood and white lately, so I chose to do a two-tone color scheme.
I used Minwax stain in Dark Walnut for the post cap and skirt and Behr Marquee Cameo White to paint the post itself. (In hindsight, it would have been easier to do the painting and staining before I put the cap and skirt on the post, but I just used a small brush on the edges, and it was fine!)
Then all we had to do was attach the hooks, and we were done!
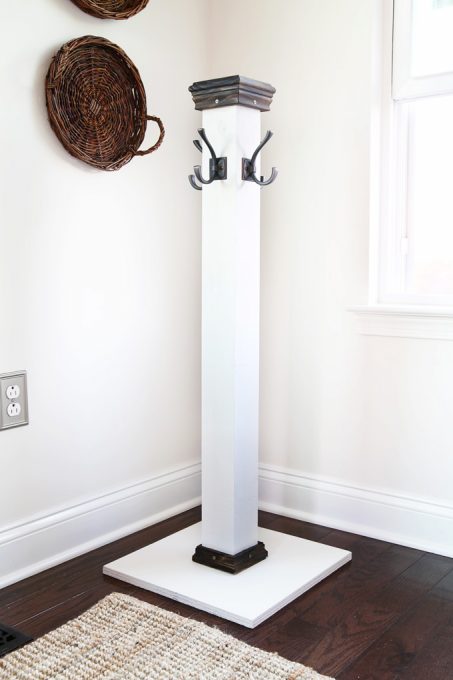
I’m so thrilled that our stockings have a home for this Christmas season (and a cute one at that)! 🙂


The boys have already been checking to see if anything shows up in their stockings, but they’re going to have to wait a little while!

For more Christmas DIY ideas, see these posts:
Gold and White Advent Calendar
Do you have a creative stocking holder at your house? I’d love to hear about it in the comments!
Have a wonderful week, friend!

A huge thanks to The Home Depot for sponsoring this post! For more information, see my disclosures here. #sponsored
So versatile! I like the contrast of light and dark.
Thank you, friend! Have a great week!
~Abby =)
Too cute, Abby! It looks like you had a blast making this too. I have not had stockings in years because I don’t have a mantle and I am so excited right now I can’t even explain it! Who knew?!Thank you for this post, what a brilliant idea.
I have always had the no mantel problem too! Who knew the solution would be so easy?! 🙂 Have a great week, Lisa!
~Abby =)
I love this stocking tutorial! It’s just our family needs for our new home this year too! I appreciate the shopping list too. And I didn’t know Home Depot will cut your wood for you! There’s so many projects I’d like to tackle but need the cutting help. Thanks again Abby!
They will! It makes projects so easy! Have a great week, Miranda!
~Abby =)
Wow! Absolutely stunning! We don’t have a fireplace in our house (one of the only things I miss after moving here), so I’ve been looking for some creative ways to hang our stockings and this definitely fills the bill! I love the rustic feel, and that it doesn’t feel Holiday specific, so you could use it year-round if you wanted!
Thanks for sharing Abby!
Ooh that’s true! I see a costume holder for my boys’ costume collection for the rest of the year, lol! Hope you’re having a great day, Megan!
See? That’s a perfect way to re-purpose it! I’m always looking for multi-purpose items, that way there are less things cluttering up what little seasonal storage I have! Having a great day, and hope you and the family are too! I’ll see you at the webinar tomorrow! 🙂
What a cute idea! We don’t have a fireplace and I typically hang the stocking on our banister along with our garland, but this looks so cute! I love your classic spin on it! Did you put any sort of felt or pad under the base so it doesn’t scratch up your new floors? 🙂
Ooh I love the idea of hanging them from a bannister! I actually don’t have a pad on it, but that is a good idea. Right now it is in a corner of the morning room, so no one really messes with it over there. 🙂 Have a great week, Sarah!
~Abby =)