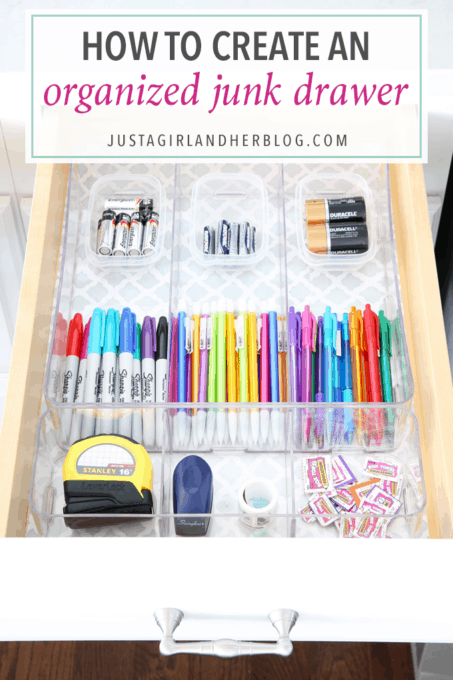
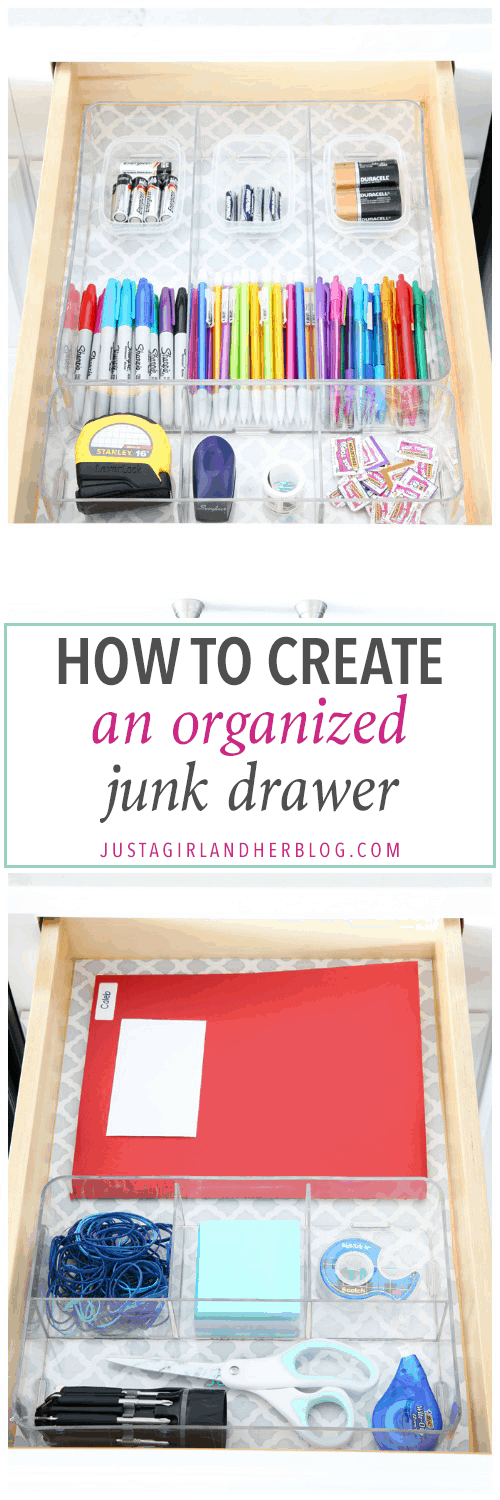
How to Create an Organized Junk Drawer
Create an organized junk drawer to have easy access to all of those small items you use on a day to day basis like office supplies, batteries, and basic tools!
Okay, I realize that the phrase “organized junk drawer” sort of sounds like an oxymoron, but I really am excited about this new little spot in our house!
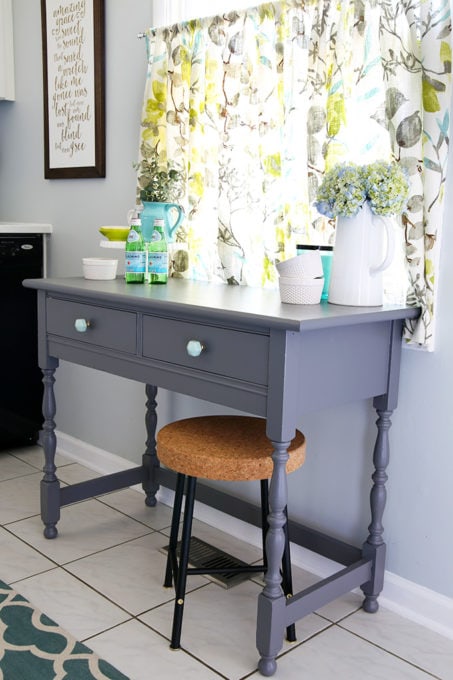
You see, in the townhouse we had this little desk/sideboard in the kitchen where we kept some essentials like writing utensils, important school info, a measuring tape, extra batteries, etc…
I hadn’t taken the time to figure out how to set up anything like that in our new house, though, so all of last school year, we were constantly running all over the house to grab the items we needed! Eek.
I recently rearranged things in our kitchen and I knew that part of that re-organization process needed to include making room for our frequently used items. Fortunately, I ended up having two extra drawers free, so they became our much needed “junk drawers”– organized junk drawers, that is!
Get all of the details in our quick video!
How to Create an Organized Junk Drawer
This post contains affiliate links. For more information, see my disclosures here.
Step 1- Make a list of everything you want to store in your drawers.
The first thing I did when I set out to create my junk drawers was to make a list of everything I wanted to include. I tried to think back to all of those times where we were either running up to my office for supplies or down to Donnie’s work station to snag a tool or something and wrote down every item I could think of.
Step 2- Choose appropriate drawer organizers.
Once I had my list and knew what I needed to fit in my drawers, I measured each of the drawers and set out to find the perfect organizers that would corral all of my items and fit my space well.
I ended up choosing clear organizers that I found at Target, but there are SO many ways to create drawer dividers! You could snip the bottoms off of boxes of cereal or rice or whatever smaller boxes you have in your house to create dividers. (Cover them with wrapping paper to make them pretty!) The dollar store often has drawer dividers in many shapes and sizes as well.
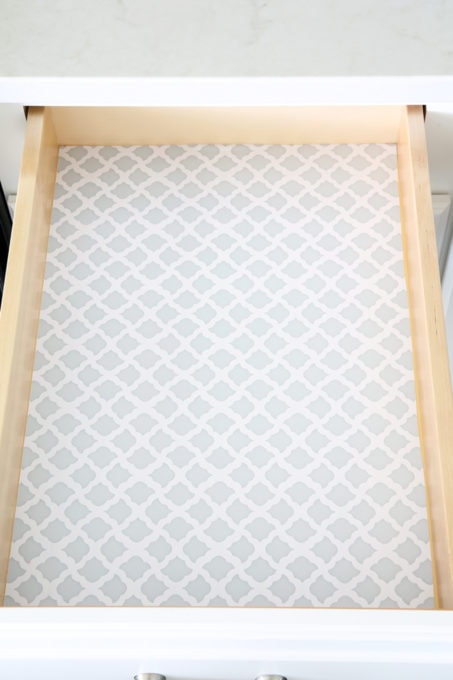
Step 3- Add a pretty drawer liner.
This step is optional, but I love to add a pretty pop of pattern to the bottom of my drawers! I found my drawer liner here.
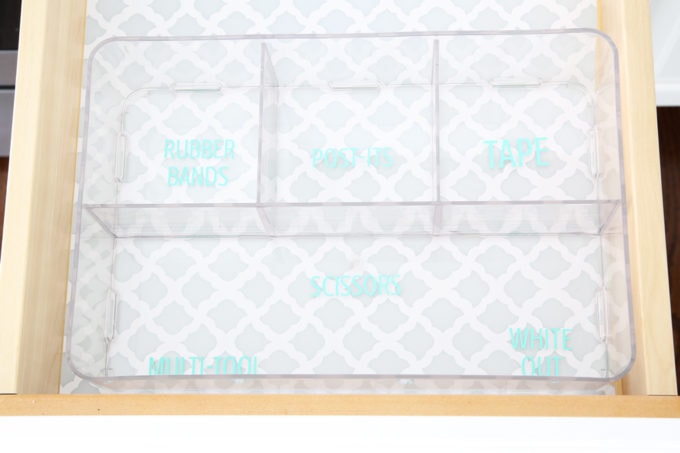
Step 4- Decide on item placement and label!
I typically play around with the configuration of my items for a bit before I find the right combination. Once I’ve decided where everything will go, I like to add labels. They look cute AND everyone always knows where to put everything back!
I like to use my Silhouette machine and cut labels out of adhesive vinyl. If you don’t have a Silhouette, I also love this label maker that is fairly inexpensive, or you can make your own labels! I have a tutorial for making them in Word here and on a free site called Canva here.
Step 5- Refill your drawers.
Once everything is labeled, it’s time to fill up my drawers!
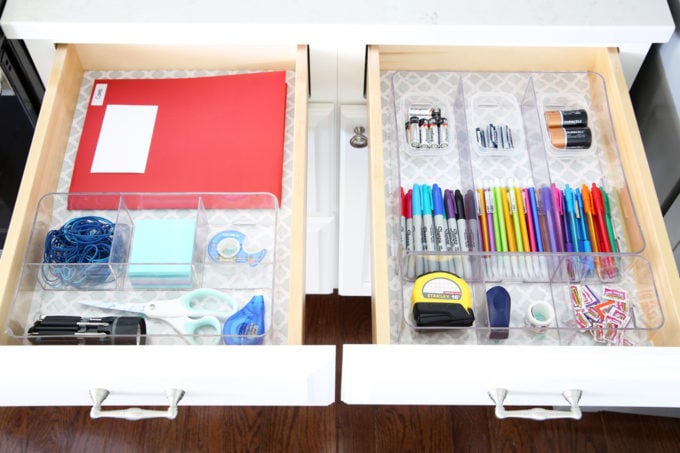
Everyone will have different needs, so what you decide to include may be completely different than what I used. If you’re looking for some ideas, here is what we decided to put in our drawers:

- A folder with our boys’ important school information that we will need to access during the year
- Rubber bands
- Post-it notes
- Tape
- A multi-tool/ flashlight (I got mine at a blogging conference and it just happened to be the perfect size for our drawer! This one is similar.)
- Scissors
- White out

- Batteries in the most common sizes we use in our downstairs living area
- Sharpies (for labeling all of the boys’ school items)
- Pencils
- Pens
- Measuring tape
- Stapler
- Stamps
- Box tops (I really needed a designated place to store these as we gathered them to donate to our school!)
So that’s it! I love this project because it’s so simple and anyone can do it, but it is also really functional and a helpful area to have as well. And since it’s uncluttered and not over-stuffed, we’ll always be able to find what we need when we need it. Love!
If you’re looking for more kitchen organization inspiration, you can also get more details about our current kitchen organization in these posts:
5 Tips for Creating a Beautifully Organized Pantry
How to Organize Under the Kitchen Sink
How to Organize the Refrigerator
How to Organize Food Storage Containers
How to Create an Organized Junk Drawer
Working with a smaller kitchen space? These posts about the small-but-organized kitchen in our townhouse may be helpful:
How to Organize a Small Kitchen
How to Organize a Small Refrigerator
How to Organize a Kitchen Pantry
[Psssttt… Get 100 brilliant ideas for organizing every room of the house here!]
What types of things do you think are helpful to keep in a “junk drawer” or central area of your house? I’d love to hear your ideas in the comments!
Have a wonderful week, friends!

This post contains affiliate links. For more information, see my disclosures here.
Love it, Abby! I’ve been working on my kitchen drawers and haven’t decided if I like the current set up of my junk drawer (although it looks better than it did!). Question: with labeling the spots in your drawer tray, do you find that people actually put the items back where they belong? I haven’t labeled mine (I should!), but I find that it’s hard to convince the crew to put things back!! Any tips on that!?? Have a great day!!
Hi, Sarah! That is a great question! So far, everything seems to make it back in its spot, lol. Donnie is naturally pretty diligent about that sort of thing. The boys need a lot of reminders, but we do a pick up time every night (or sometimes every other night), and they know that if they don’t put things back where they go, they’re just going to have to get up and move the item to its correct spot, so it’s easier to do it right the first time! 🙂 We are always a work in progress around here, though. (My current battle is getting them to put their clothes in the hamper and turn off their bedroom light when they leave the room, so it’s always something!) Hope you’re having a great week!
~Abby =)
I’m going to try this! I just bought a house a month ago and trying to figure everything out. I’m a huge fan of your blog, and I’m amazed that you’re still writing really useful and valuable content! Your blog made me start my own last year. Thanks for everything!
Aw, thank you so much for your sweet words, Victoria! They made my day! I’m so glad it has been helpful for you! <3
~Abby =)
Great ideas! I too, like to make my drawers look pretty with shelf paper or contact paper. I appreciate the sources you mentioned.
So glad it was helpful, Jolene! Hope you’re having a great week! <3
~Abby =)
(sigh….) This reminds me, I really need to get my junk drawer organized. Between what I am always doing, and what I see you doing (your’s is one of the few blogs that I follow regularly), I would be busy all the time. 😉
Haha! Can’t do it all! 🙂 One thing at a time. Happy organizing! <3
~Abby =)
I love an organized junk drawer! Everyone needs a space for all of the extra stuff and I love how pretty you made yours!
Me too! 🙂 Thanks so much, April! Have an awesome day!
~Abby =)
I can’t believe I am going to say this, but I am excited to try to organize my junk drawer! Thanks for the post!
Woohoo! Happy organizing! <3
~Abby =)
I definitely need to do this! Great suggestions, Abby, as always. We should move into our new home just before Thanksgiving.
Aw, how fun! Such an exciting time! <3
~Abby =)
Hi Abby, I loved how great this drawer organizer was! It looked so cute but efficient at the same time!
Thanks so much!
~Abby =)
Would you say the drawer liners stick really well? I love your colors and would like to try it if they stay in place.
Hi, Lori! I used these exact liners in our last house and now and this house and haven’t had any trouble with them pulling up, so they’ve worked really well for me! Hope you’re having a great week!
~Abby =)
This is amazing!! I never really thought about another option to having a junky junk drawer. Ours could really use some attention! I have to admit the labels looked a little “much”, but then thinking about how everyone will know that THIS is where that item goes = no excuses!! I love it!! Thanks for the inspiration!
Aw, thanks so much, Amanda! I’m so glad it was helpful for you! It has worked wonders in our home… hope it works well for you, too! 🙂 Have a great day!
~Abby =)
Oh wow! I love how simple and clean it looks. I don’t think it should be called a junk drawer anymore. Great idea!
True! haha Thanks so much! It’s been working great so far! Hope you have a great week!
~Abby =)
Any chance you can like the organizing trays you used?
Hi, Bethany! Sadly, they don’t sell these exact organizers anymore, but you could create something similar with this modular system: https://www.amazon.com/InterDesign-Kitchen-Drawer-Organizer-Utensils/dp/B00UVCD040/ref=sr_1_3?crid=3Q8IME3AAJJ1N&dchild=1&keywords=idesign+drawer+organizer&qid=1587484951&sprefix=idesign+draw%2Caps%2C150&sr=8-3 . Have a great day!
Hi Abby
All my drawers seem to be Junk Drawers!
I used to keep my batteries by type in plastic bags. Until one went “fizz” and burned through the bottom of the drawer. Now I keep them in glass jars.
This is also the safest way to keep used batteries before taking them to be recycled.
Thank you so much for all your tips.
So glad they were helpful for you! Hope you’re having a great week! <3
~Abby =)