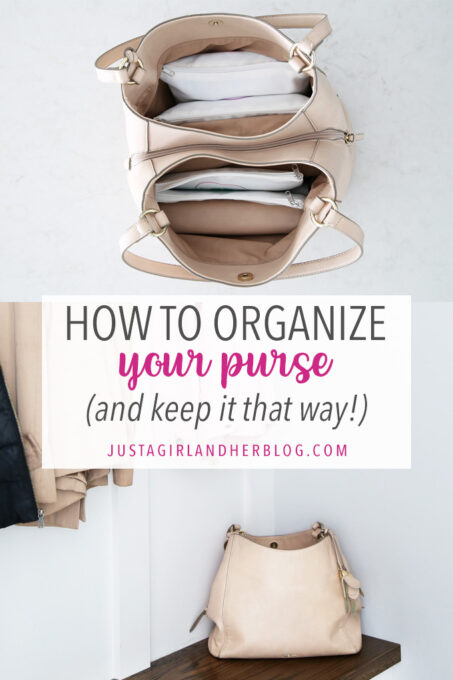
How to Organize a Purse (with Cricut Infusible Ink Cosmetic Bags!)
Learn how to organize a purse and keep it that way for good! These Cricut infusible ink cosmetic bags are the perfect way to keep a purse neat and tidy.

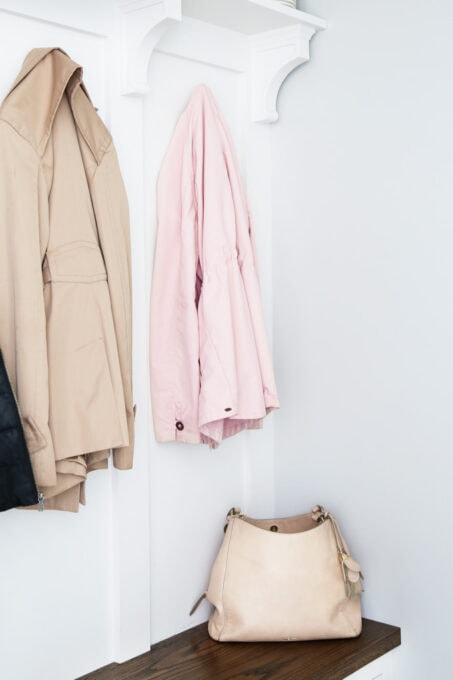
My purse can easily become a black hole of mess and clutter. I was sick of spending tons of time digging through it to find what I was looking for, so I decided to reorganize and save my sanity!
With any other organizing project, I typically separate the objects I’m trying to tidy into categories and then store like items together. So I figured I would do that for this organizing my purse as well.
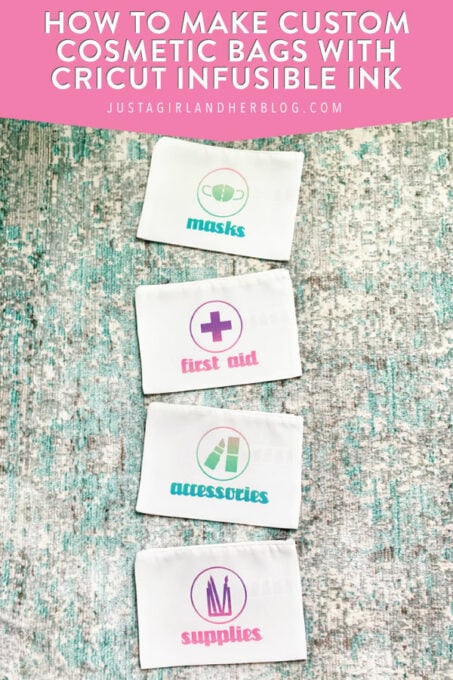
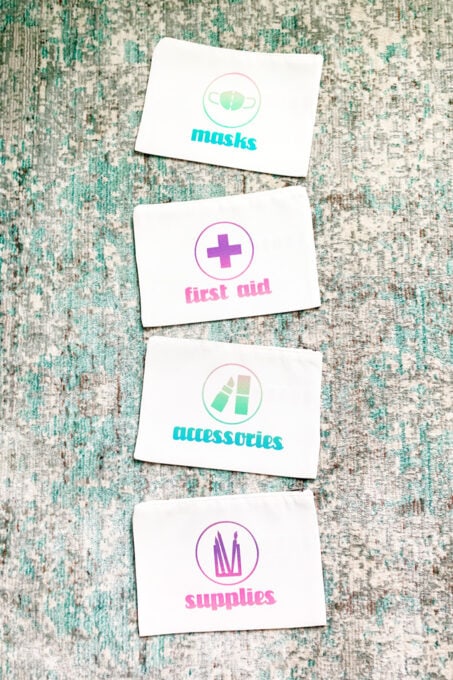
I sorted out the items in my purse and found that the items I wanted to store fell into four main categories: masks, first aid, makeup/accessories, and office supplies.
I decided to use small cosmetic bags to store different categories of items within my purse. But I needed a way to label them. And since I’ve been wanting to try out Cricut’s infusible ink method for a while now, this seemed like the perfect opportunity to do it!
How to Make Custom Cosmetic Bags with Cricut Infusible Ink to Organize a Purse
This post contains affiliate links. For more information, see my disclosures here.
What is infusible ink?
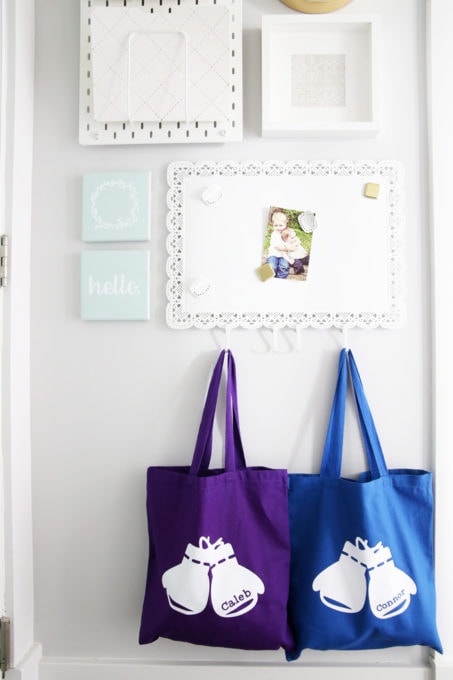
Normally when I want to put a design on fabric, I use iron-on vinyl to do so. (Like I did with these personalized tote bags.)
Iron-on vinyl is fantastic, but since the material is sitting on top of the surface of the bag or t-shirt, it can be prone to cracking and peeling.
Like iron-on vinyl, infusible ink is applied to a surface using heat. But unlike iron-on vinyl, it does not sit on top of the surface it adheres to. Rather, when heat is applied to the infusible ink transfer sheets, they actually turn into a gas and become part of the fabric surface they’re being applied to– they “infuse” into it. Because of this, I never have to worry about any cracking or peeling of my design with infusible ink.
The infusible ink method seemed almost too good to be true, so I just had to try it out for myself to see how it worked!
Supplies Needed for Creating Custom Cosmetic Bags with Cricut Infusible Ink
I used the following supplies to complete my infusible ink project:
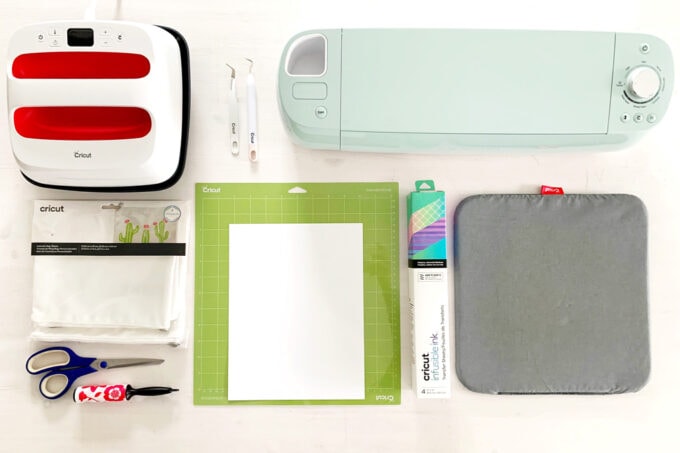
- Cricut EasyPress heat press
- Weeding tools
- Cricut Explore Air 2
- Cricut cosmetic bags (Note: Infusible ink does not work on every surface. The surface must be made out of a specific material for the reaction to work correctly. Cricut makes a bunch of different blanks— bags, t-shirts, coasters, etc.– that are guaranteed to work with infusible ink, so I was sure to use their brand of cosmetic bags.)
- Standard Grip Machine Mat
- White card stock
- Infusible ink transfer sheet and butcher paper (Butcher paper is included in the boxes of Cricut infusible ink.)
- Cricut EasyPress Mat
- Scissors
- Lint Roller
Step 1- Create the design.
I started by creating my design in Cricut Design Space. If you are a Cricut user, you can use my exact design here. I used a Cricut font called “Salut” for my project.
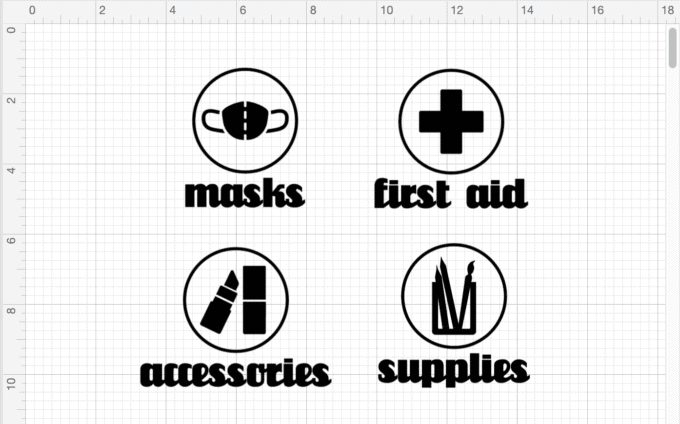
Step 2- Cut the design.
Once I had my design exactly the way I wanted it and attached the appropriate pieces together, it was time to cut it out using my Cricut Explore cutting machine!
I pressed the “Make It” button in Design Space. Then when I got to the preview screen, I was sure to press the “Mirror” button to flip my image.
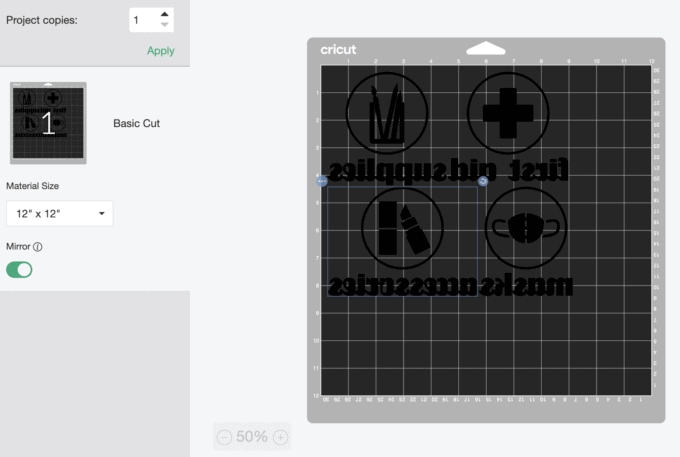
With infusible ink projects, we’ll always need to mirror our design. This means that the machine will cut it out backwards, but when we put it onto our surface, it will show correctly.
I then put my infusible ink transfer sheet onto the Standard Grip Machine Mat, loaded it into my Explore, and the machine cut my design for me.
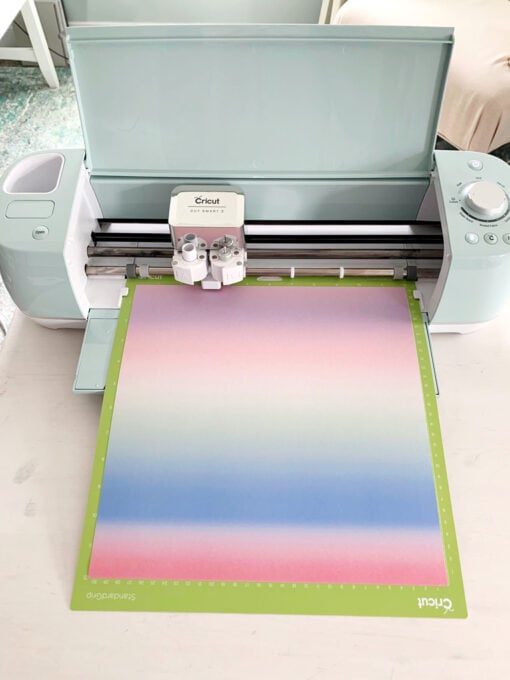
Note: It is important that your hands are completely clean and dry when handling the infusible ink transfer sheets so that they don’t get warped or messed up in any way.
Step 3- Weed the design.
Next I had to get rid of all of the unneeded pieces of the infusible ink transfer sheet so I only had my design left. This is known as “weeding” the design.

Once I had weeded out the unnecessary pieces, I was left with my designs that looked like this:
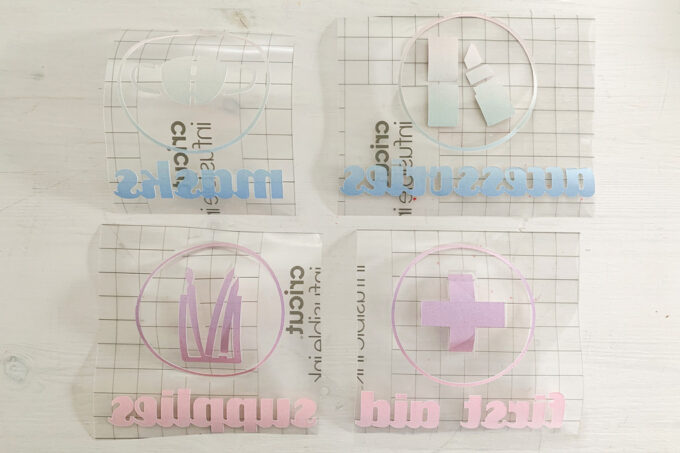
I know they still look backwards! But when I put them on the bags, they will come out correctly– I promise!
Step 4- Press the design onto the cosmetic bag.
Now all that was left to do was to put my design onto the cosmetic bag! To ensure that the design didn’t bleed through to the back of the bag, I put a piece of white card stock inside while I was pressing my design.
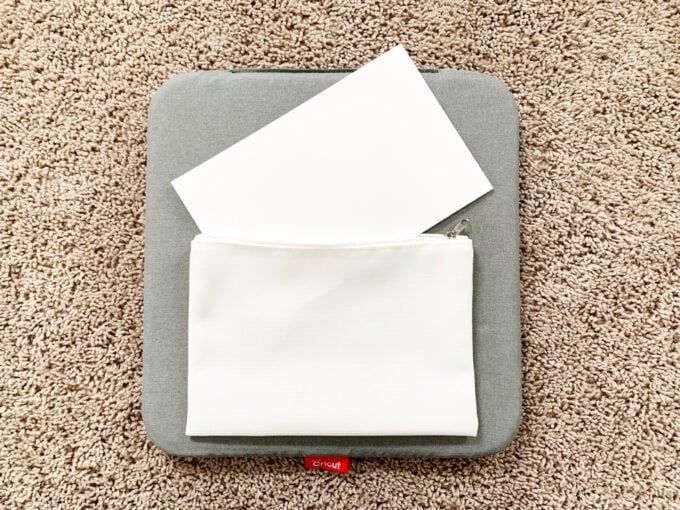
I then used a lint roller (1) to remove any fuzz, lint, or dust from the bag. (If any debris is on the bag when I press the infusible ink design, the design will not take in that spot.)
Next I needed to preheat my surface a little bit, so I put a piece of butcher paper over the cosmetic bag, which was sitting on my EasyPress mat (2). (Note: The piece of butcher paper needs to be bigger than the surface of the EasyPress heat press.)
To preheat the surface, I warmed up my heat press to 385 degrees and held it on the butcher paper covering my bag for 15 seconds (3).
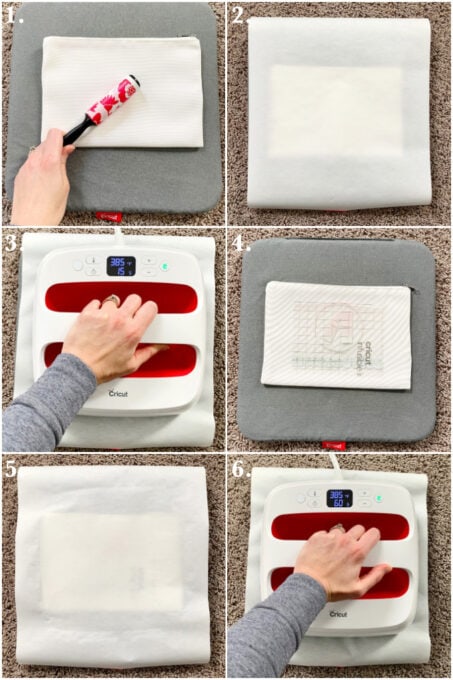
I then lined up my design exactly where I wanted it on my cosmetic bag, keeping the bag on the EasyPress mat (4). I placed the butcher paper over top of the design and the bag again (5) and held the 385 degree EasyPress on the butcher paper and bag for 60 seconds (6).
Note: It is very important to drop the EasyPress straight down onto the butcher paper and bag and not move it around while pressing. Moving it can create a “ghosting” or smudging effect on the design that we don’t want.
I lifted away the EasyPress after 60 seconds and removed the plastic sheeting from my design while it was still warm. My labeled cosmetic bag was complete!
I then repeated the process for the other three bags that I wanted to create. (Note: Never reuse the same piece of butcher paper. There is always a chance that the infusible ink will get on it and then transfer to your next piece and mess it up.)
Organize a Purse with Custom Cosmetic Bags
Once I had completed my bags, it was time to fill them up! I feel like choosing what to keep in my purse is such a balance. I want to be as prepared as possible for any situation that arises, but I also don’t want to lug around a ton of unnecessary items that I’m never going to use.
Here is what I chose to keep in my purse… (Your list may be completely different, and that’s okay!)
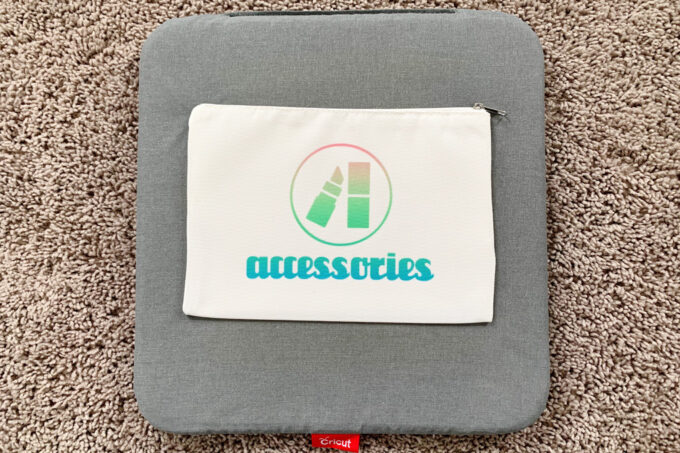
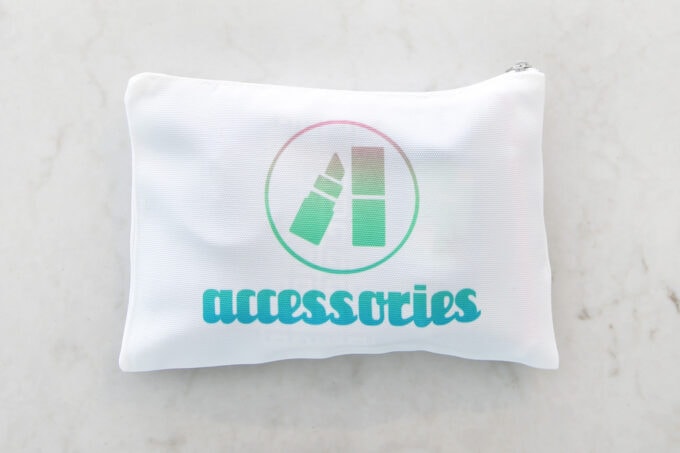
Accessories
My “accessories” bag holds mostly self care and hygiene items:
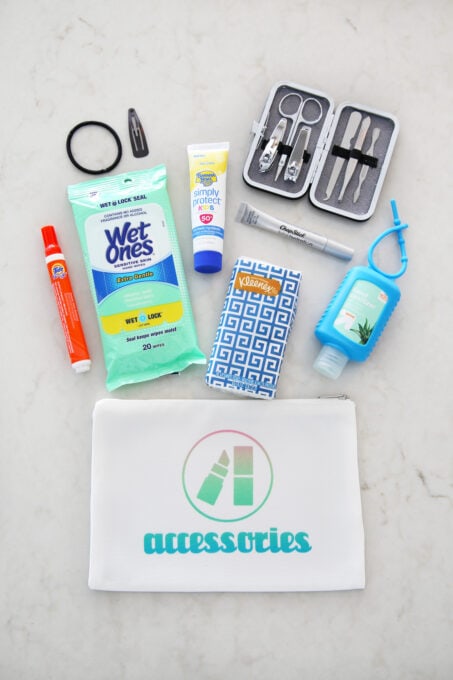
- Tide pen (for removing stains)
- Hair tie and clip
- Wipes
- Sunscreen
- A small manicure kit
- Lip balm
- Tissues
- Hand sanitizer
I was pretty impressed with how much this little bag could hold! (It is 9″ x 6″.)
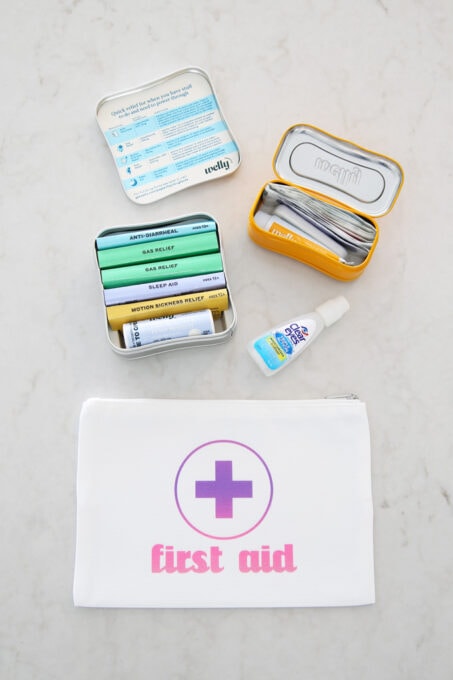
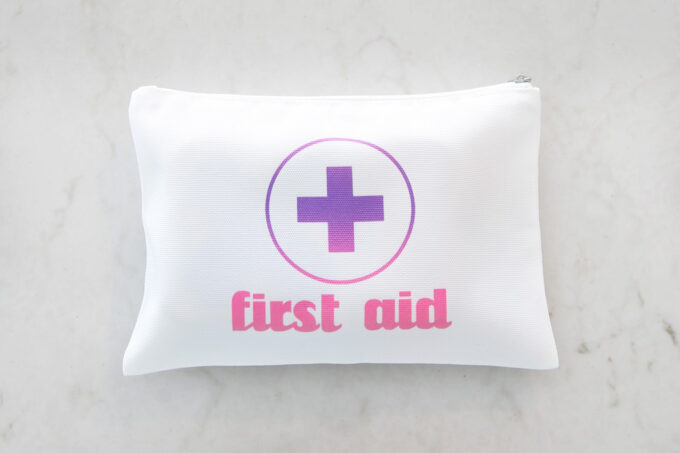
First Aid
With two crazy boys, I always want to make sure I’m prepared with first aid! 🙂 I like the little pre-made Welly kits (I find them at Target.) because I can carry a bunch of different first aid items in not much space at all.
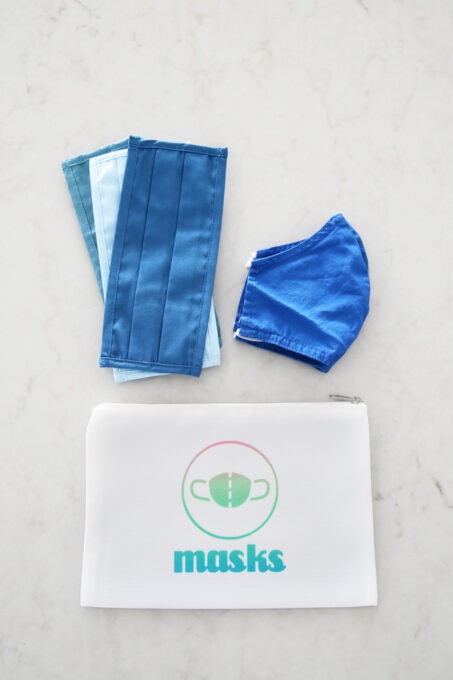
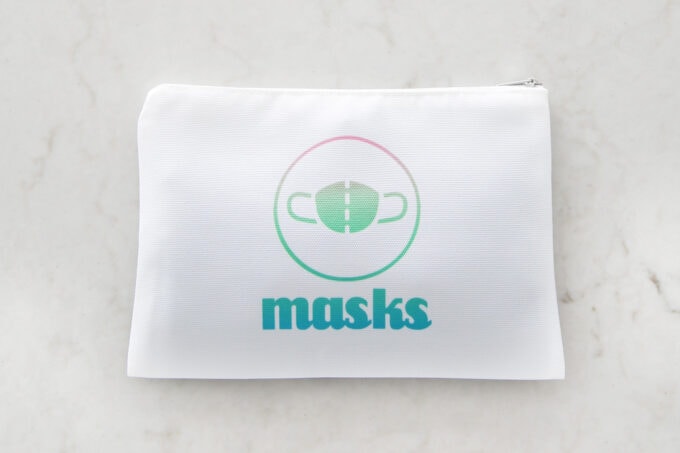
Masks
I always want to make sure we are prepared with clean masks wherever we go these days, so they get their own little bag. I keep both kid masks and adult masks on hand.
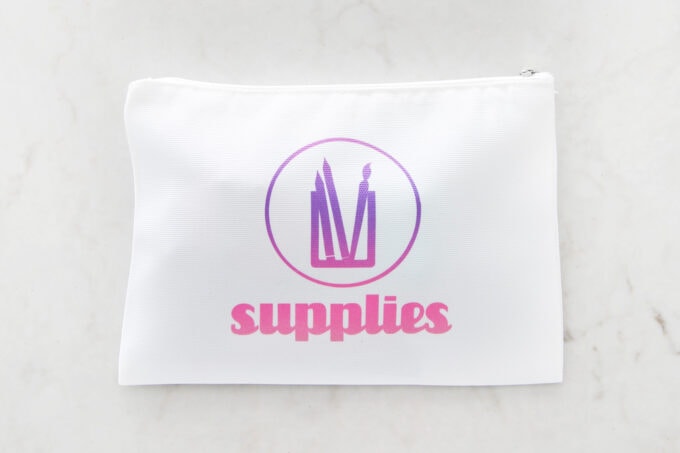
Supplies
Finally, I wanted a bag for office supplies and other small items that I keep in my purse day to day.
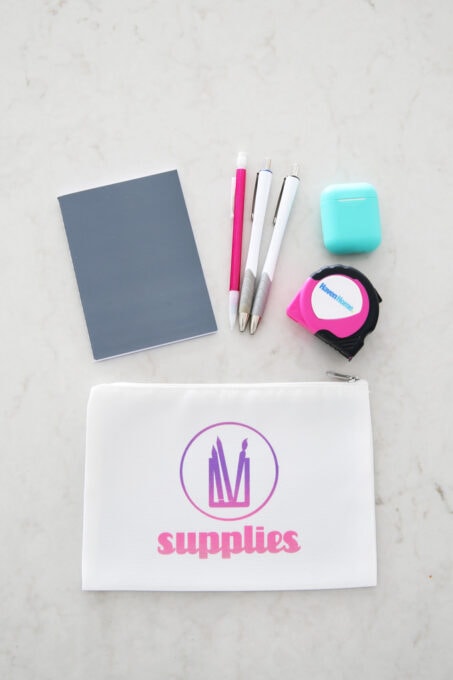
- Small notebook
- Writing utensils
- AirPods
- Mini measuring tape
Organize a Purse
Once my cosmetic bags were filled up, I could just pop them right into my purse! I also keep my wallet and keys in the main pockets. The center zipper pocket holds more seasonal items like an umbrella and gloves.
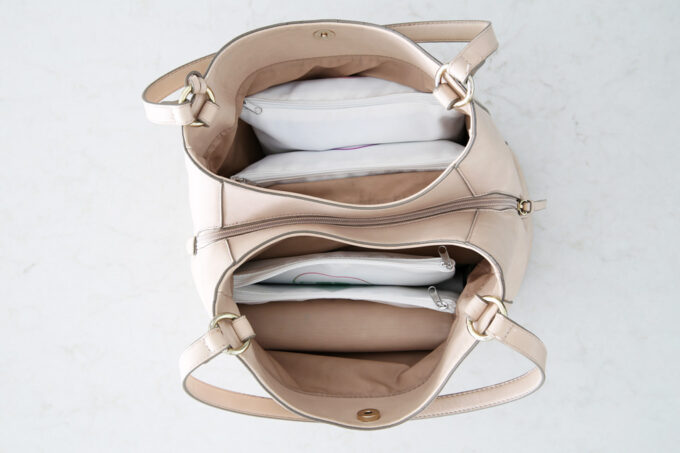
The cosmetic bag system also makes it easy when I want to switch purses. Instead of transferring all sorts of little items over individually, I can just grab the full bags and I’m good to go within a few seconds.
This was a pretty quick project, and I am already loving the positive impact it has had on my purse organization! I’m spending way less time searching for things. And my purse no longer resembles a black hole. 🙂
How do you organize your purse? I’d love to hear the strategies that are working best for you in the comments below!
Want to save this post to come back to it later? Be sure to pin the image below!
And if you’re looking for more fun projects to do with a Cricut cutting machine, don’t miss these posts:
How to Make Pretty Labels with a Cricut
How to Make Custom Canvas Tote Bags
Thank you so much for following along! Have a wonderful day!

This post contains affiliate links. For more information, see my disclosures here.
Thanks for sharing. This is a great idea. I learned from my Miche phase to have one organizer that I can just transfer from bag to bag. I have found some at Goodwill for a couple of bucks. Game changer. But I am definitely incorporating your bag idea. These are great. Thanks again!
So glad it was helpful for you! I agree… the organizer is a total game changer! Hope you have a great week, Michelle! <3
~Abby =)
I actually use hinged sunglass holders to store things like this! They stay vertical and give me more room for my planner and reading materials.
That’s a great suggestion. Thanks, Rhonda! Hope you’re having a great week! <3
~Abby =)
Great Idea, but to expand on the “cosmetic bag” idea. Perhaps just purchase them in 4/four different colors, or just dye the white bags diff colors. In this way, one can easily see what’s what, just by opening the top of her purse & no having to drag 3 bags out to pick the desired one. (Ha, ya know this will happen!)
That would work too! Thanks so much for your suggestion, Beverly! Hope you’re having a great week!
~Abby =)